How to Take Photos of the Northern Lights

To be able to take pictures of the Northern Lights you need a couple of unique settings. Here is a guide on how to take Northern Lights photos with any device!

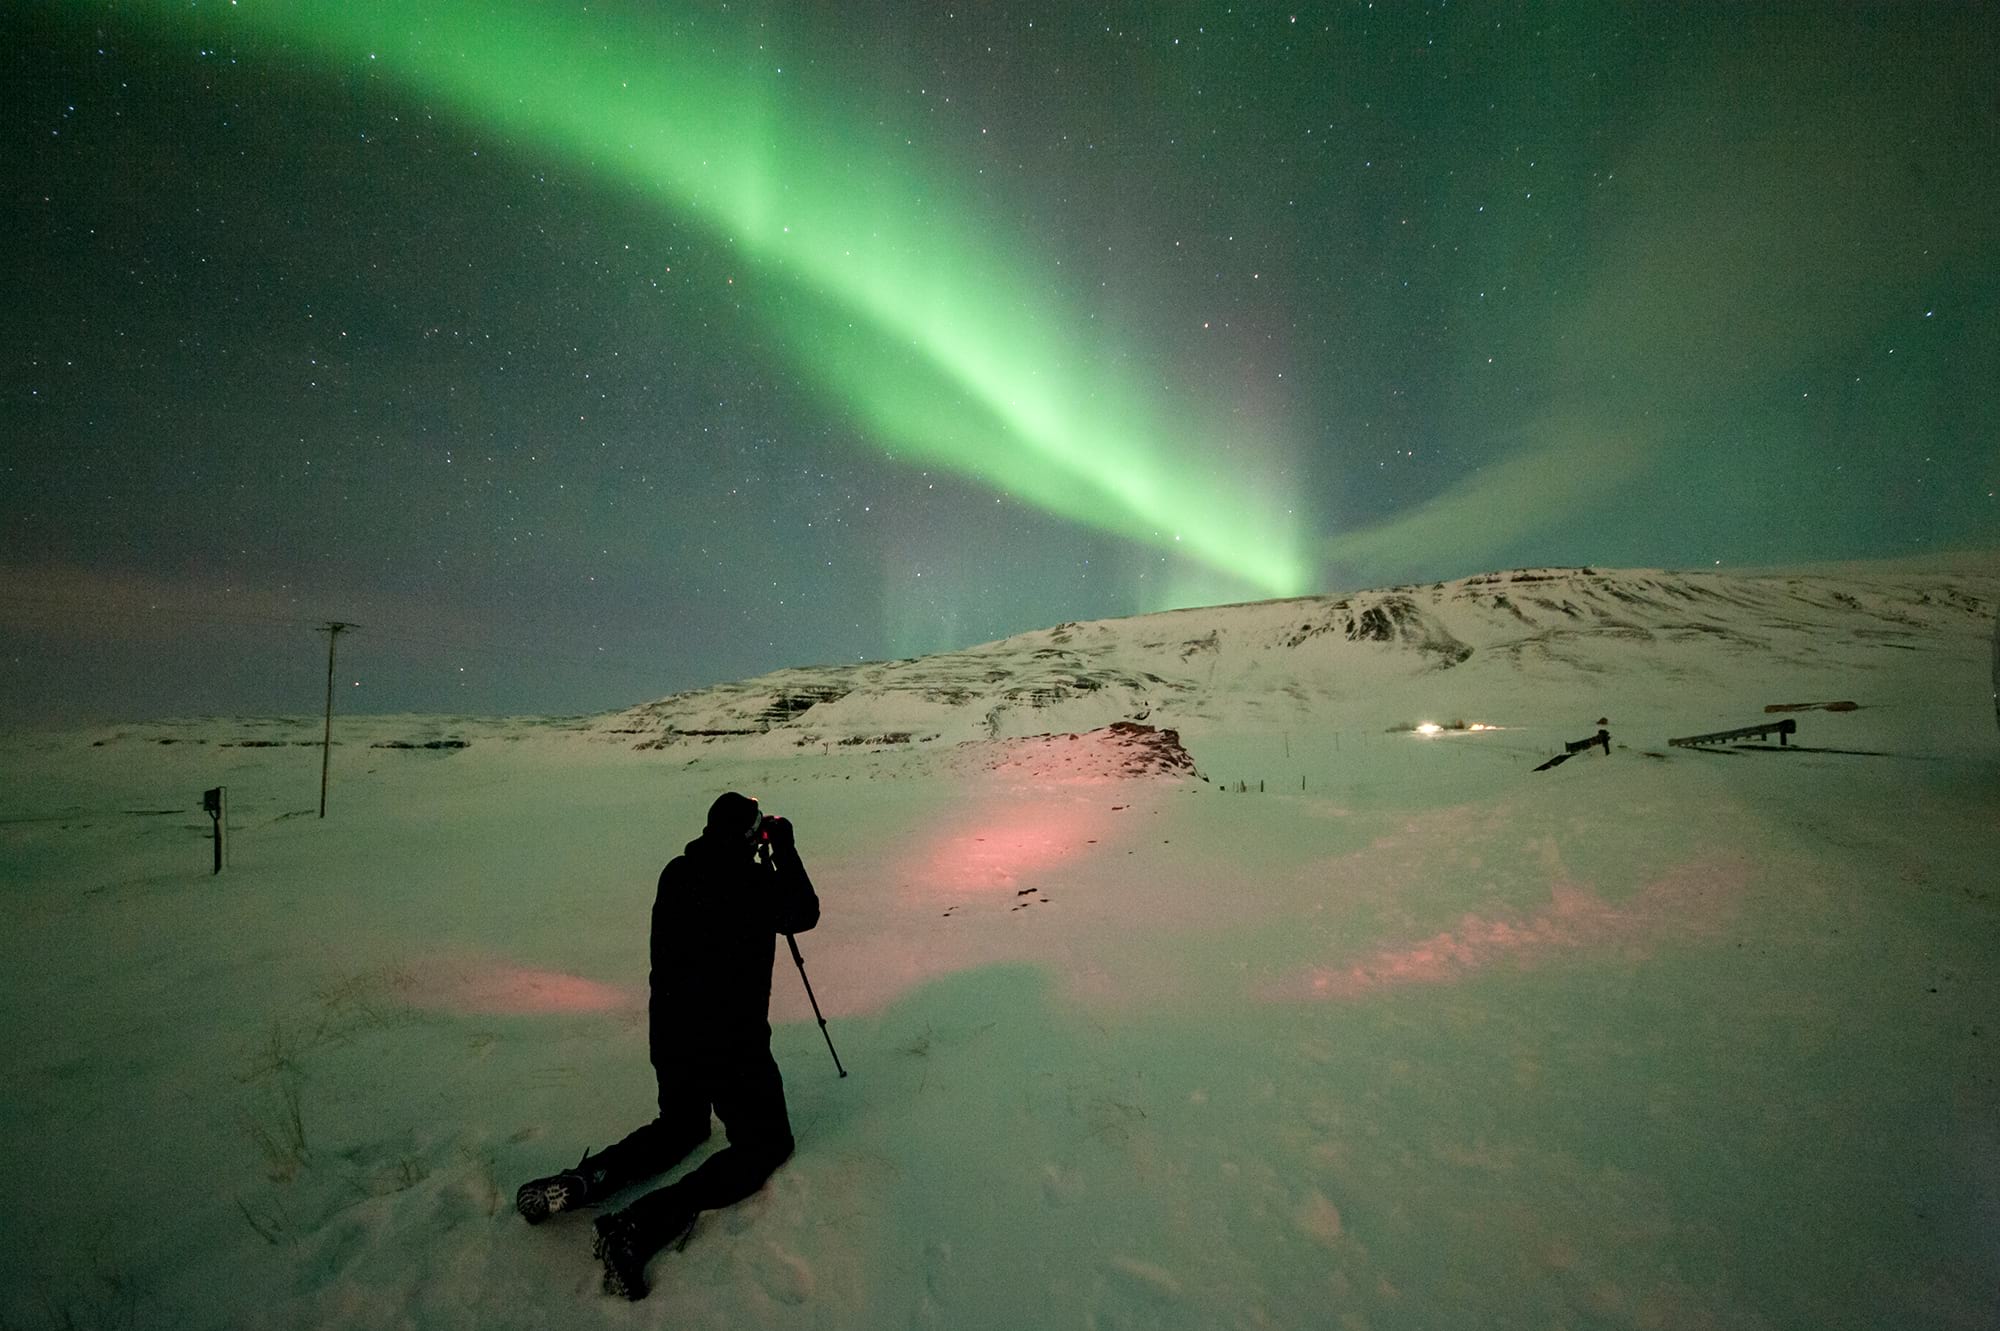
Witnessing the Northern Lights is on the bucket list of many people. Not only experiencing this beautiful phenomenon, but also getting the greatest photos to share with your friends and family! When you finally get the chance to see the Northern Lights it can happen very quickly and unexpectedly. To avoid spending hours in the cold and dark trying to set up your cameras, and not having time to enjoy the Northern Lights, it's a great idea to practice at home and have your camera ready before you go on the hunt.

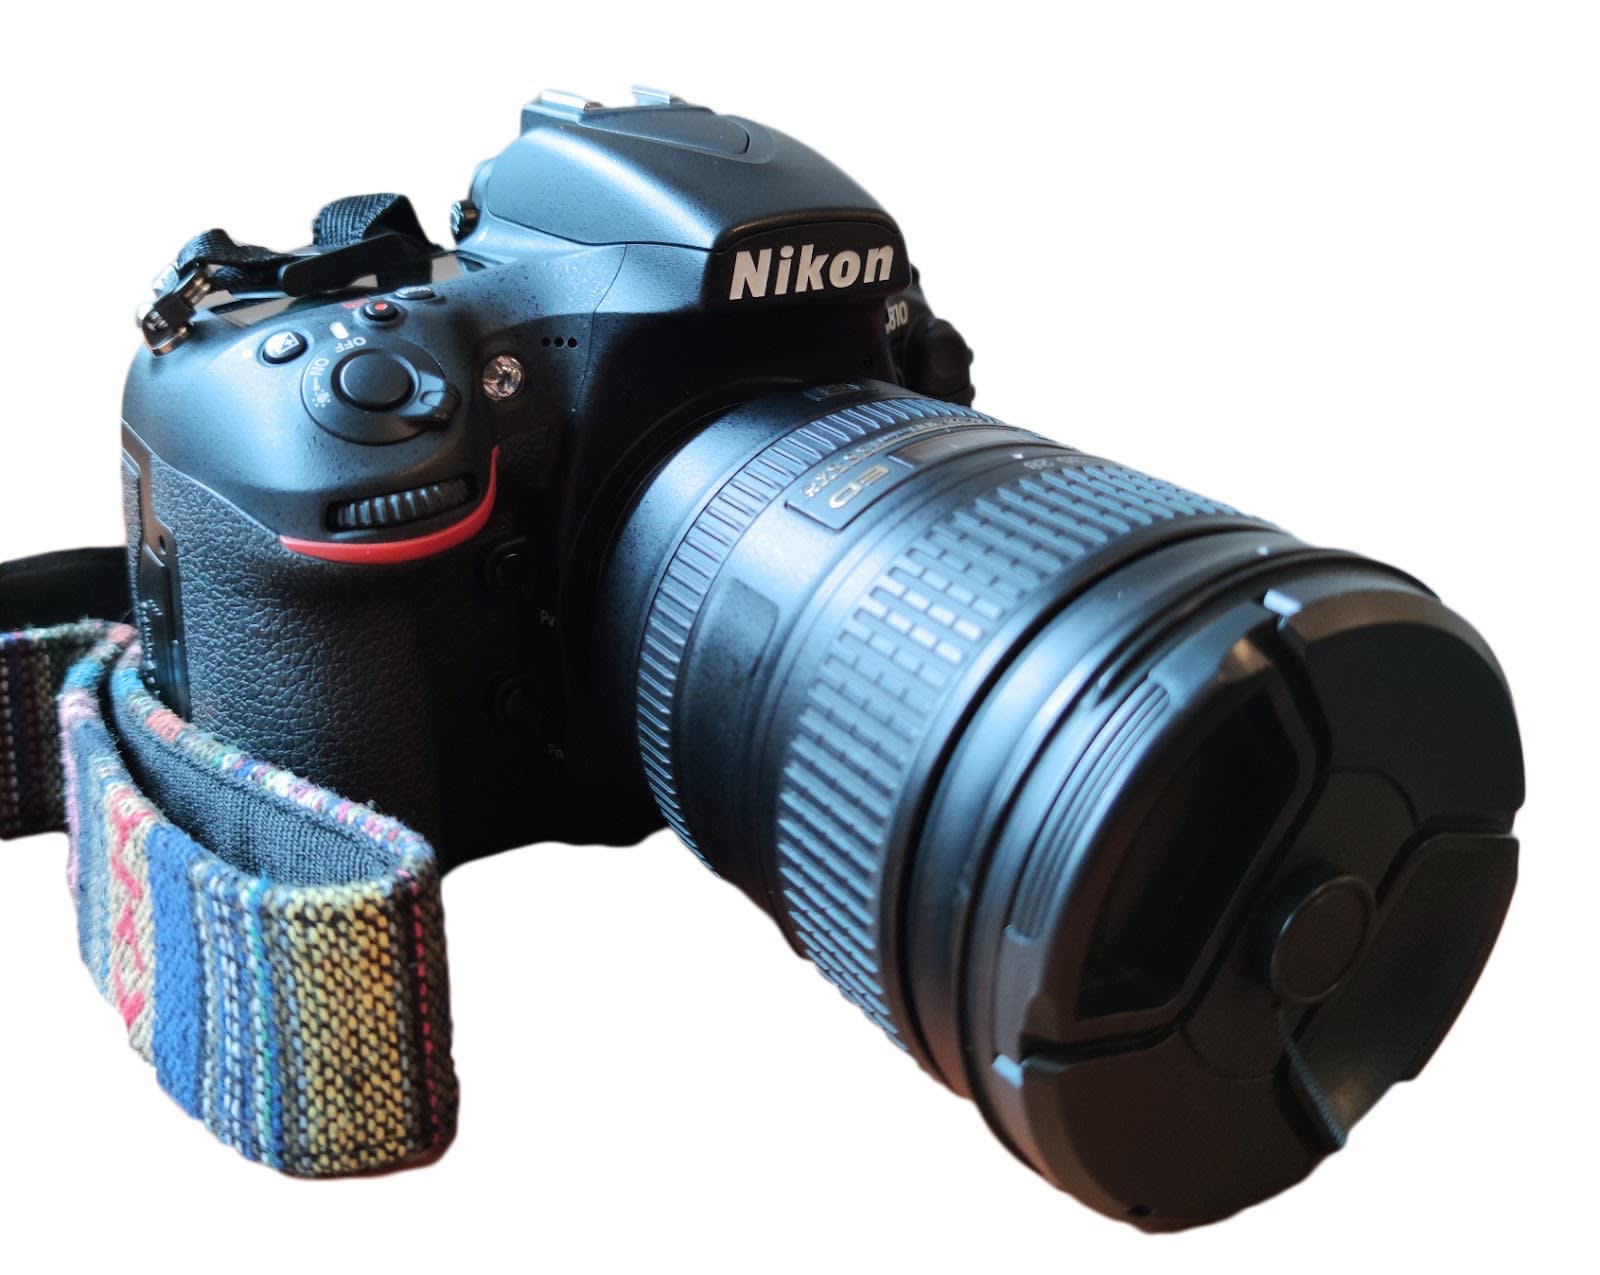
Firstly, what camera and phone types can actually take pictures of the Northern Lights?

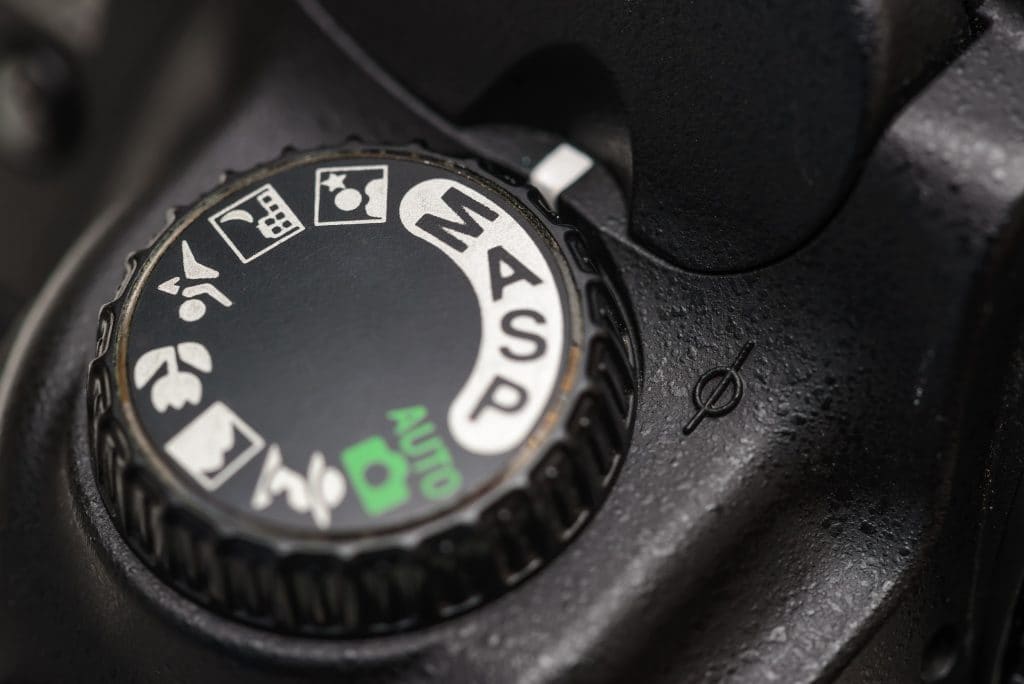
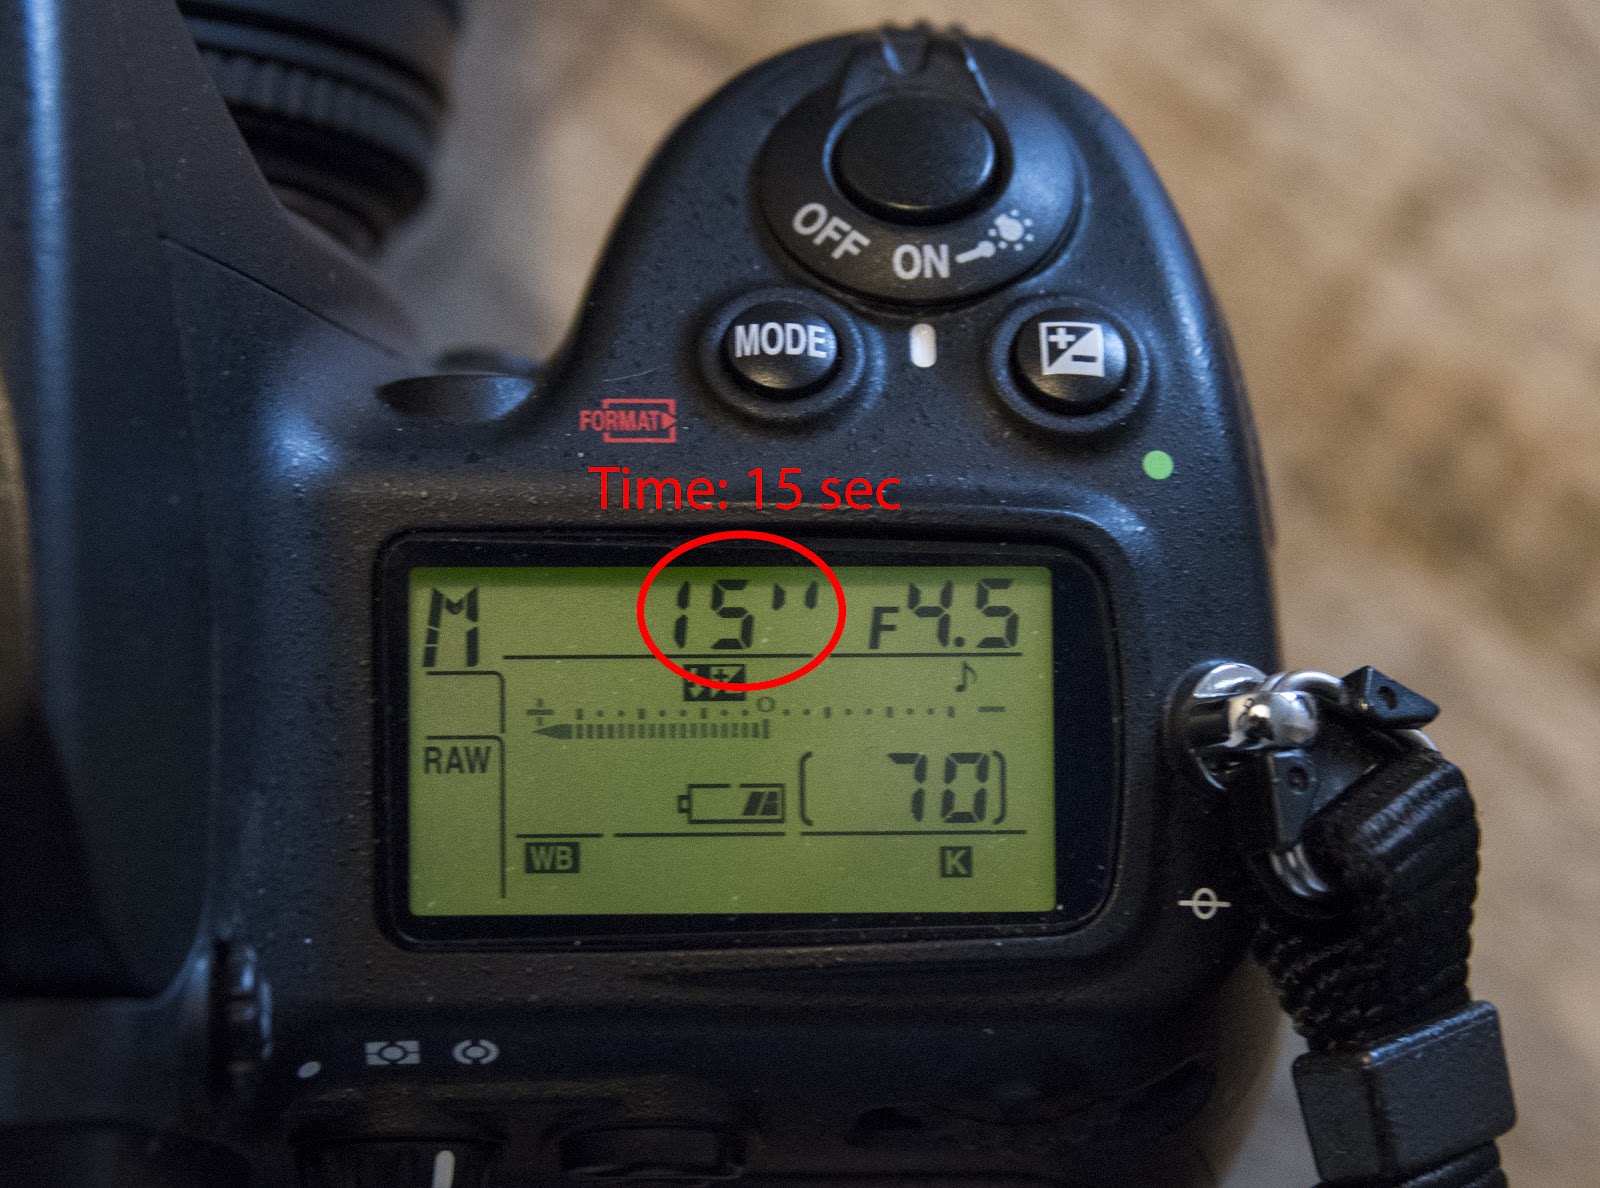
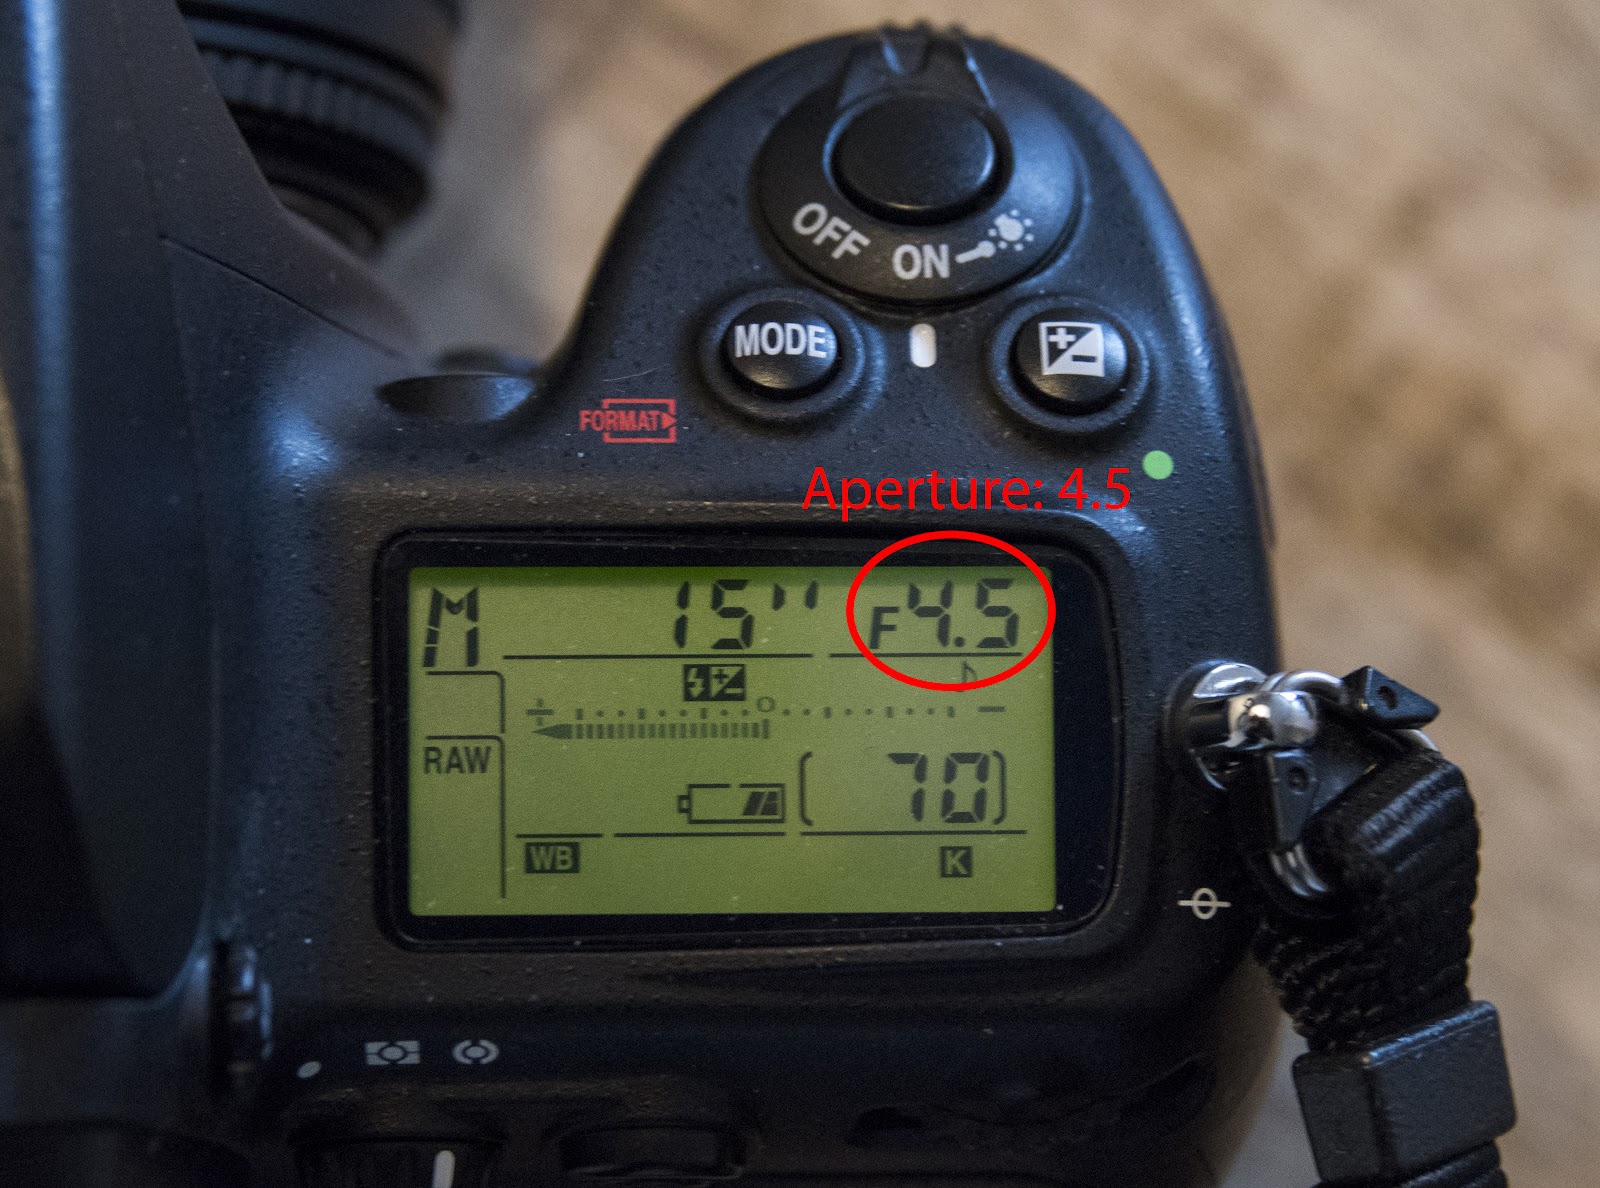
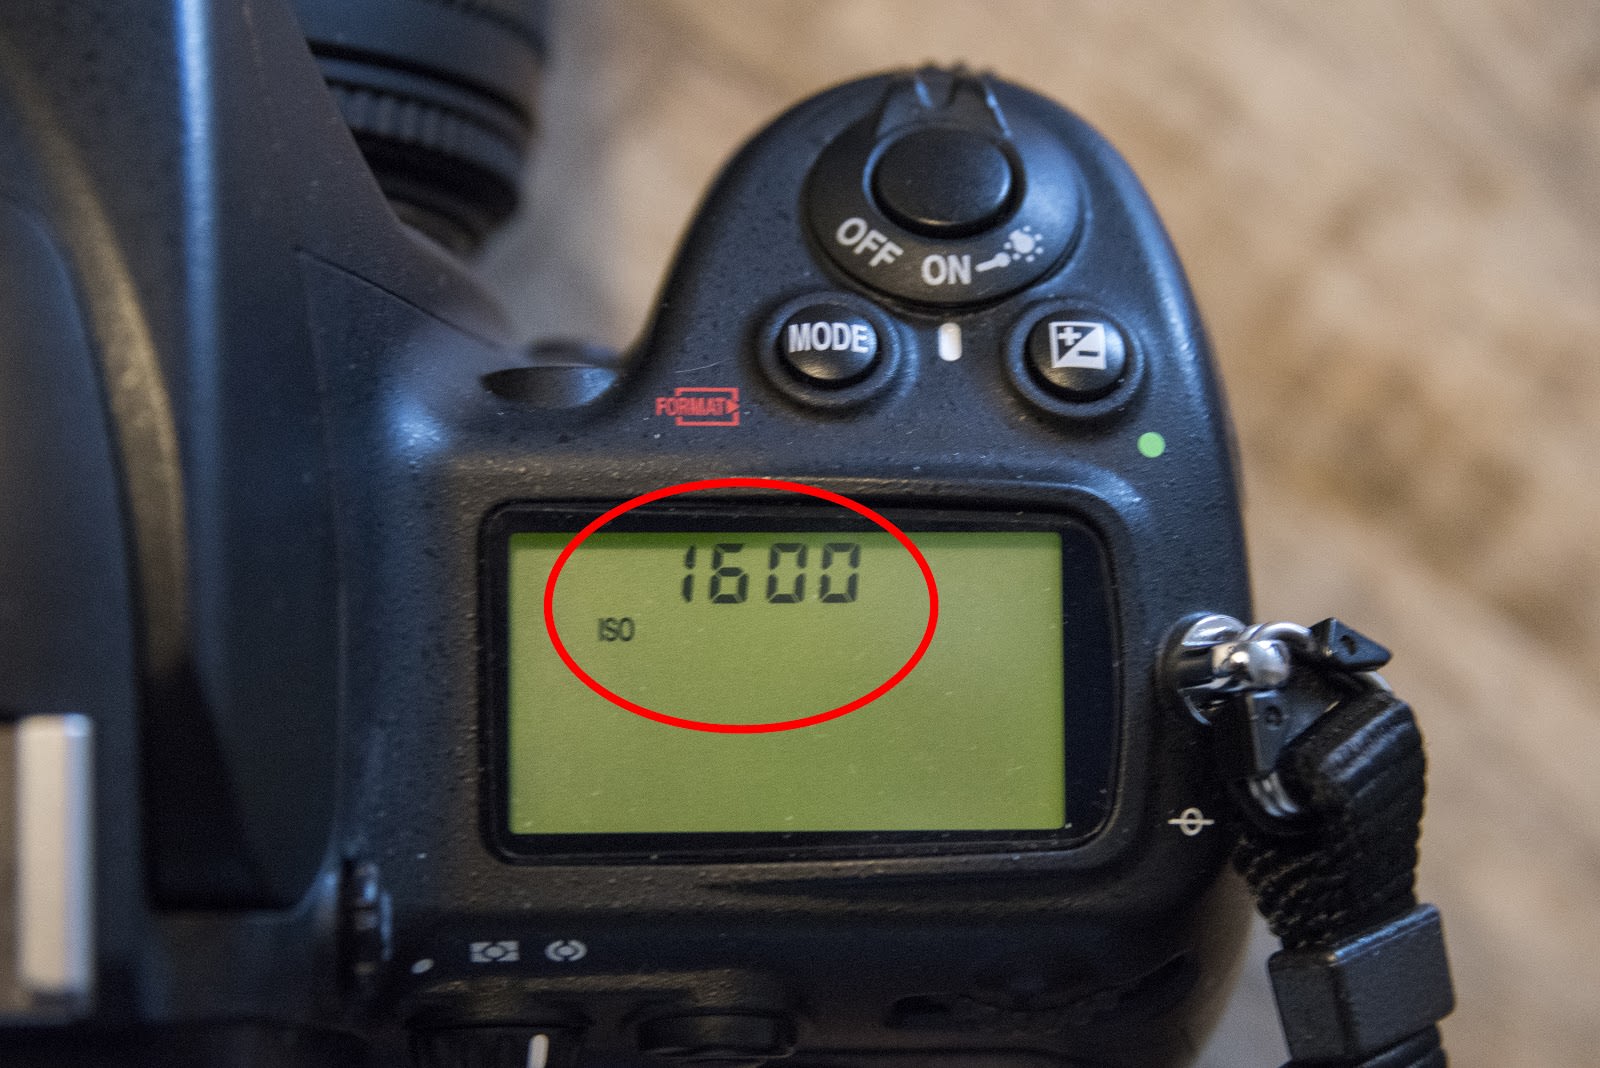
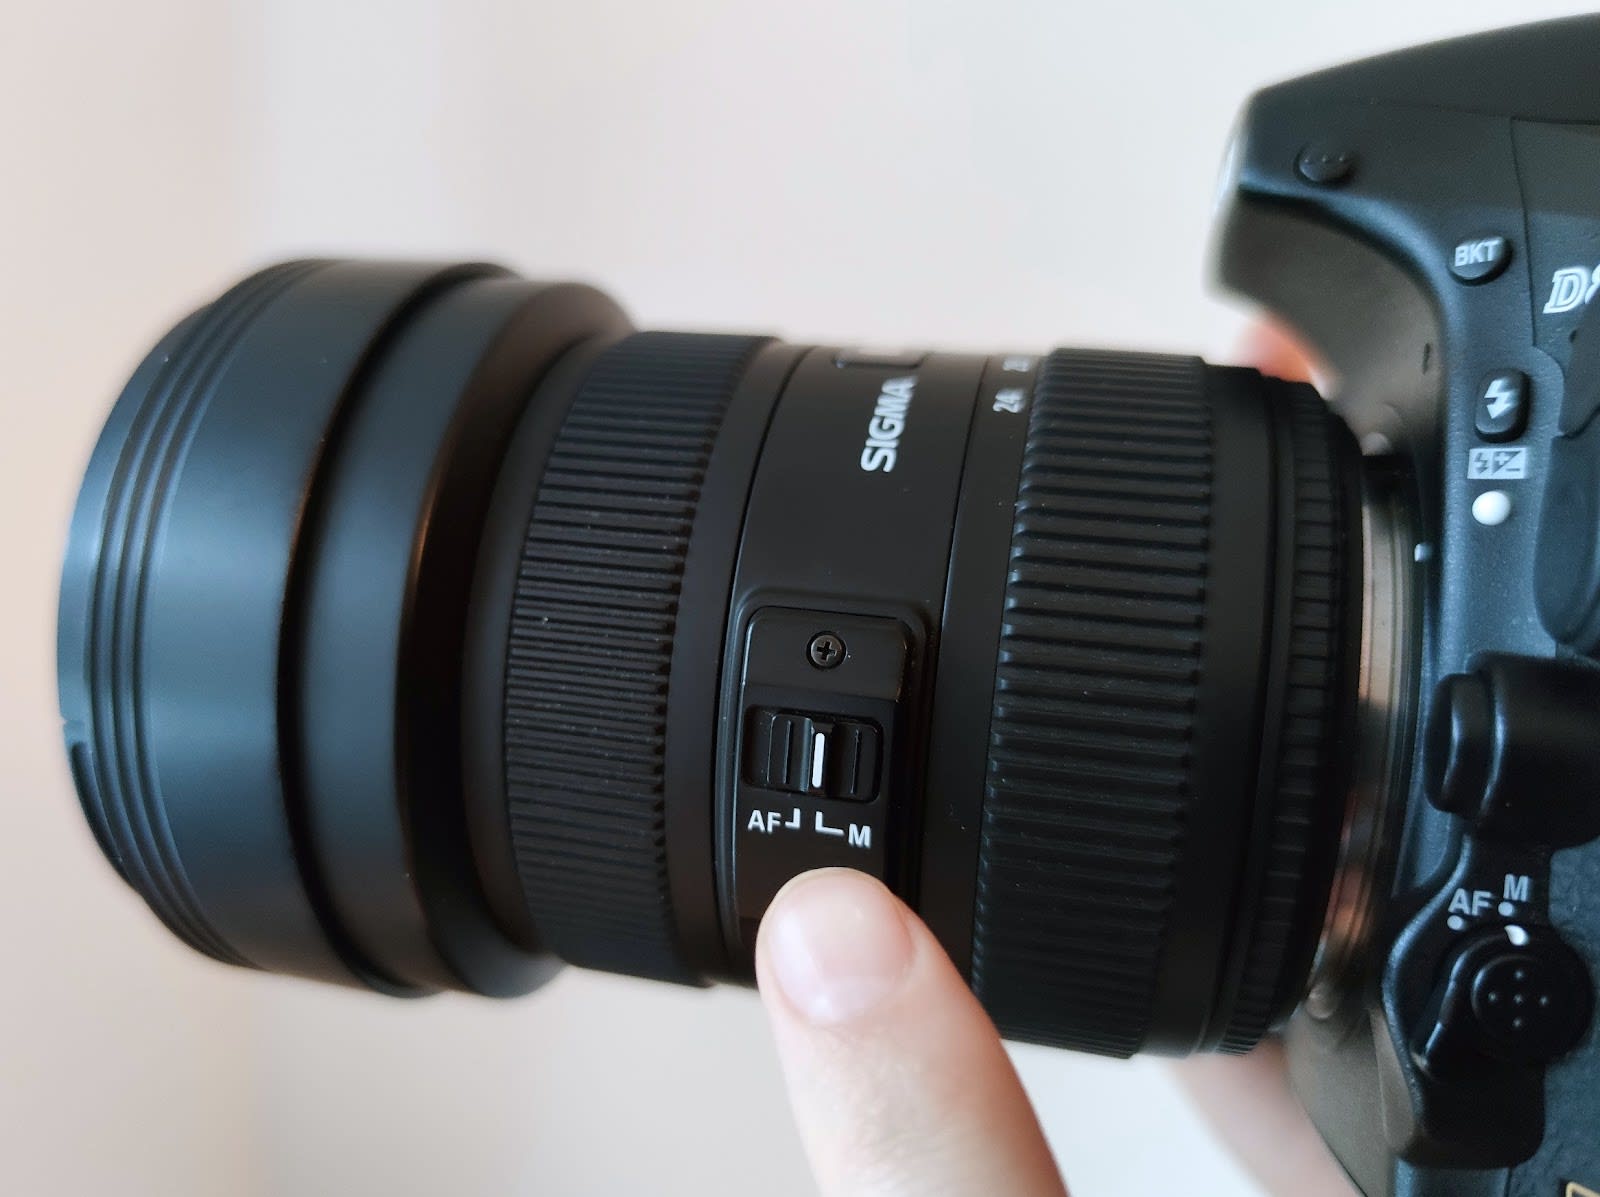
For all cameras the rule is, as long as your device has a manual mode which allows you to change at least the exposure time (minimum 10 seconds), you are good! You can also take better photos if you have a wide lense.

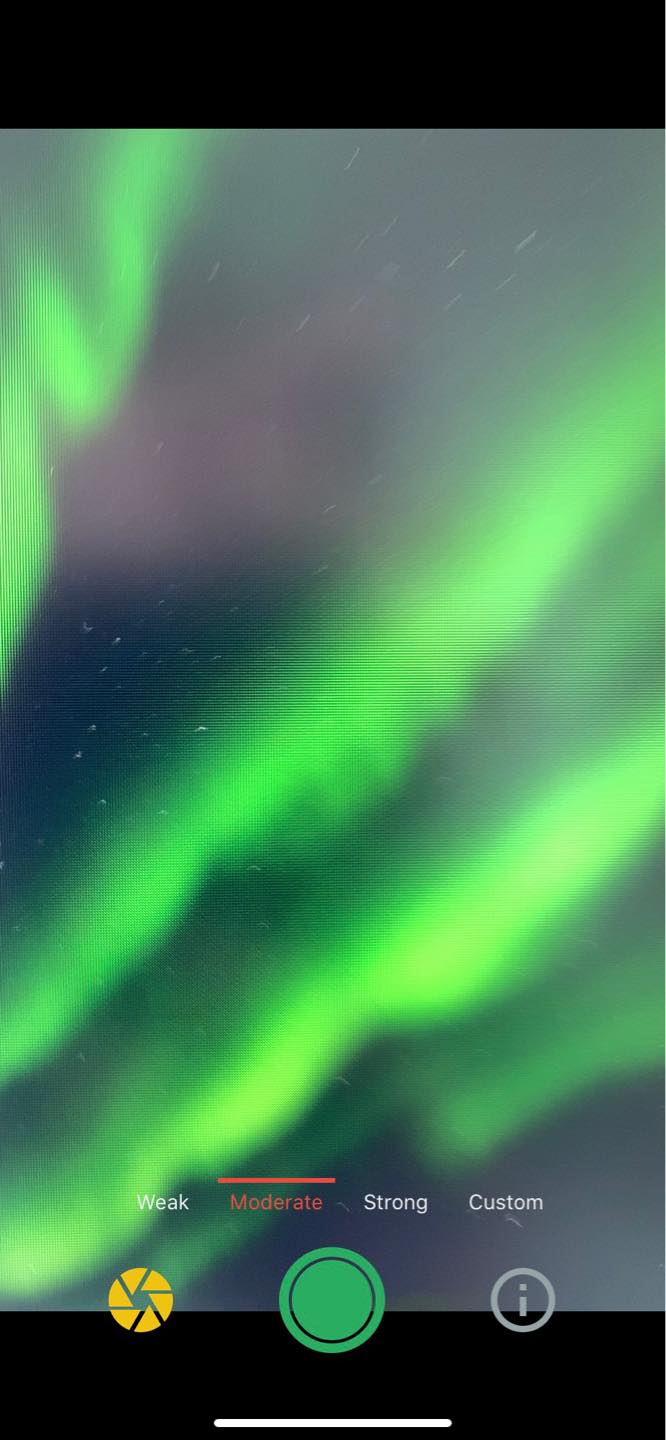
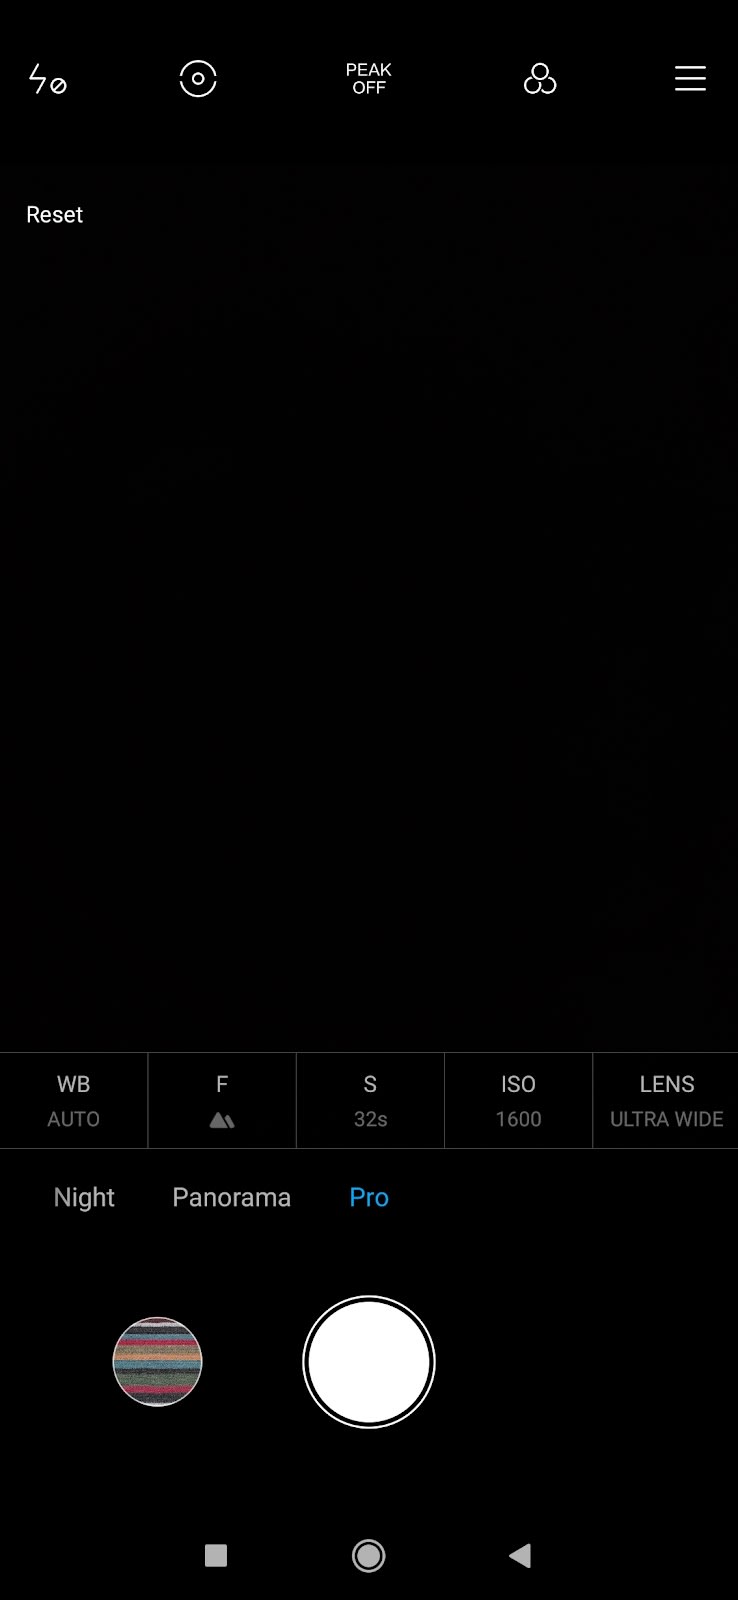
Almost all newer phone models can take pictures of the Northern Lights although for all Apple devices, aside from the iPhone 11, we recommend using an app.

Newer GoPro models also allow you to take pictures of the Northern Lights with the night mode working best.

For all devices a tripod is always very helpful as you will have to hold your device very stable for an extremely long time.

Here are a couple of tips that can help you set up your cameras and phones!

Let's start with DSLR cameras:

Set your camera on Manual Mode. You will find that it is most likely on the top of your camera on a little wheel where the Manual Mode is marked with a capital M. 

Now you can set the rest of the camera settings! You want to aim for a very long exposure time.

Set your shutter speed to anything between 10 and 25 seconds. But note, if the screen shows you 15 this means 1/15 of a second and not 15 seconds! 15 seconds instead is marked as 15”. To correct this you will normally need to turn a wheel, although different devices have it located differently.

Your aperture should be set to the lowest number that is possible on your lense. Normally this is going to be somewhere between a f/1.4 and f/5.6, but choose the lowest option. The aperture can be found on a second wheel or with pressing a little button plus turning the first wheel.

Your ISO should be quite high, something between 1600 and 3200 is a good option. If you go too high you risk getting a grainy picture. This setting can be found either in the menu or on a special button.

Last but not least, you need to switch your auto focus to manual focus. This can be found normally on the side of your lense. It is a little switch button and manual focus is marked with M.

Summary: All the numbers depend on your camera, your lense, how bright the moon is and how bright the Northern Lights are. So all the numbers are to be understood as a guideline. Feel free to experiment with them!

As a general rule remember this:

  • The higher the number in the exposure settings - the brighter your picture
  • The lower the number in the aperture settings - the brighter your picture
  • The higher the number in the ISO settings - the brighter your picture

The ISO is the only thing that negatively affects the quality of your picture (though the greater the quality of your camera, the less you will see this effect). Otherwise your picture can become very grainy and develop colour spots in it, so be careful. If your picture is too dark it's always better to set the exposure time longer instead of setting the ISO higher.

iPhone

Unless you have the iPhone 11 your phone camera app will not allow you to take good photos of the Northern Lights. In exceptional cases you may be able to use the camera, but it depends on light pollution and strength of the Northern Lights.

We strongly advise iPhone users to download an app. One we can highly recommend is called Northern Lights Photo Taker, the app costs you about $1.50 and works as follows:

You have the options between Weak, Moderate, Strong and Custom. The easiest way to get a good picture is to just click on Weak. This stands basically for weak Northern Lights which will make your picture the brightest. Under Custom you can do the settings the same way as you would on the DSLR cameras.

Make sure your Long Exposure Mode is enabled by clicking on the yellow aperture button down left.

The pictures will be saved in your gallery.

The iPhone 11 actually allows you to take good pictures of the Northern Lights with just the standard camera. It even automatically adjusts the settings so you don't need to do any work!

Finally, let's talk about Androids (such as Samsung, Huawei, Xiaomi, LG, etc.):

Samsung, Huawei etc.

All newer phone models will allow you to take pictures of the Northern Lights just with the normal camera. For example, Samsung started allowing you to do this with the S7.

They all work fairly the same, you click on your camera app, swipe to either the left or right and you will find something called PRO settings.

Here you can choose the same settings as on the DSLR cameras. Some phones allow you to do more than others but it will look something like this.

You normally don't have to worry about the white balance (marked with WB), this is normally just fine on the auto settings. If your picture should get weirdly red or any other color then you can play around with this setting.

You can test all this at home in a dark room. If your room is visible in your photo then your settings are good.

Have fun!